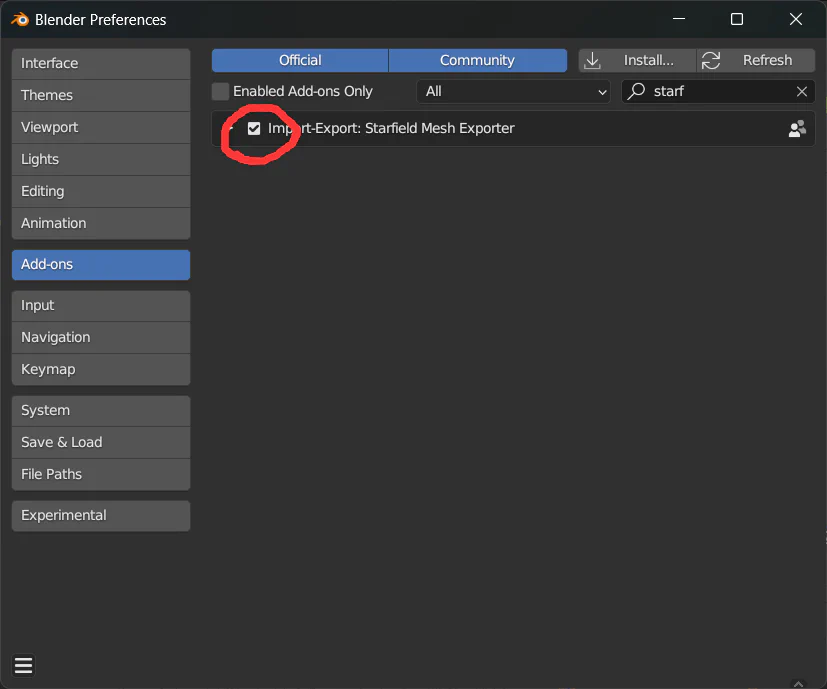
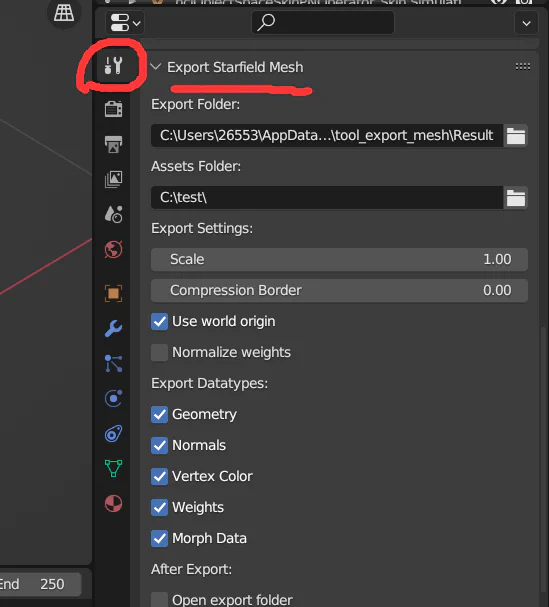
After successfully enabled the plugin, you should be able to find a new panel inside the Tool sidebar. (See the image below)
We only care about two folder paths for now. They are “Export Folder” and “Assets Folder”.
Export Folder is the default folder that holds your exported files if their export paths are not specified. Set this path to somewhere you won’t forget!
Assets Folder is the folder that has all the loose files extracted from ba2 archive files. The plugin will look for game assets as loose files in this folder.
Since Assets Folder requires loose files, you should first extract ba2 archives as loose files in a folder, and then set Assets Folder path to this folder.
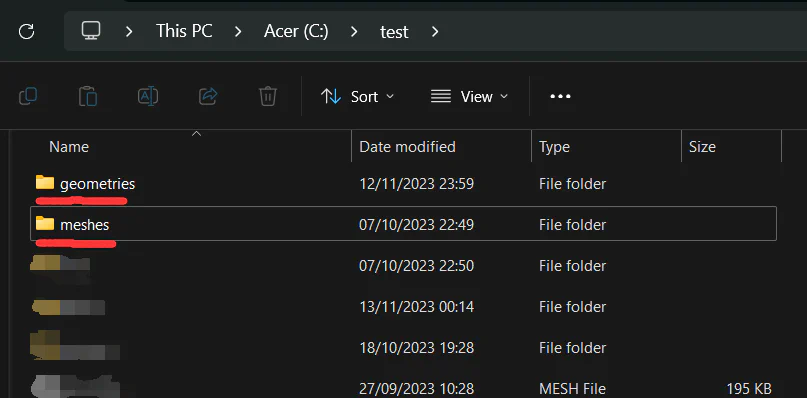
Currently the only game assets needed for this plugin are mesh geometries, which means only extracting “meshes01.ba2” and “meshes02.ba2” archives will just be enough. (Your Assets Folder should look like Image 5 below)
Create a Cube object in Blender and edit it however you like.
Select the Cube you just created and make sure it’s highlighted!
Navigate to “Tool sidebar -> Export Starfield Mesh panel”.
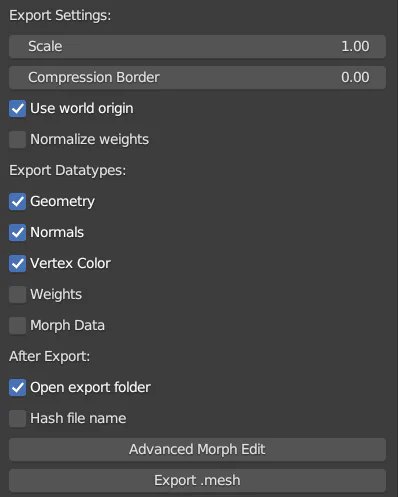
Toggle off “Export Datatypes -> Weights and Morph Data”, since a simple cube is supposed to be neither weighted nor morphable.
Toggle on “After Export -> Open Export Folder” if you wish to see your exported file right after export. (You should have the same settings as is shown in Image 6 below)
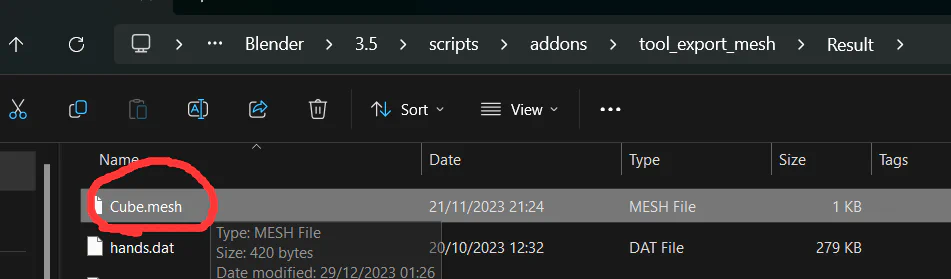
Hit “Export .mesh” button, and your will see Cube.mesh file if the export is successful. Cheers!
If you find this instruction hard to follow, please familiar yourself with the basics of Blender. Watch a few Youtube videos and come back to this tutorial at any time.